May
15
2012
Today is day two of my Sourdough starter adventure. At some point my starter is supposed to start making bubbles which is the yeast starting to multiply and do it’s stuff. I checked on my starter late last night and there were a couple of tiny bubbles on the surface but I’m not sure if they were yeast bubbles or bits of trapped air.
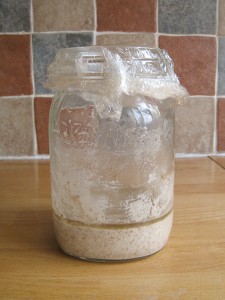
This is what my starter looked like this morning:

Sourdough Starter overnight
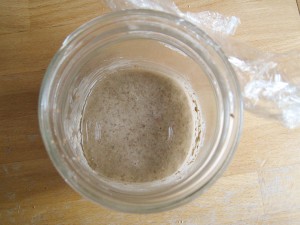
As you can it has separated out a little bit. Here is a shot looking down into the starter, are they bubbles?

Sourdough Starter bubbles?
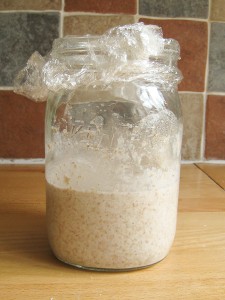
Anyway, I now need to give my starter it’s first “feed”. So, I added 75g of flour and another 100g of warm water. I then gave it a good stir up, put the clingfilm back on and put it back in my office. I’ll keep an eye on it overnight to see if any more bubbles start to appear.

Starter after first feeding
no comments | tags: bread, make your own bread, Sourdough, Sourdough recipe, Sourdough starter, wild yeast | posted in Recipes
May
14
2012
Recently I have been making more and more of my own bread and one type of bread that I’ve read a lot about is sourdough. I’ve been wanting to try my own for a while now and as you probably know, you can’t make sourdough without a starter.
A sourdough starter is a strange and mythical beast. Traditionally there is no yeast added, it just uses the natural yeasts that are in the air all around us.
So, to get me started on my adventure I read several of my bread books and loads of articles on the internet. From all of these, I found that there are lots of do’s and don’ts and it all seemed over complicated. Even though man has been making it for thousands of years, there is no “correct” recipe, the only thing that everyone agrees on is that no-one can agree on one recipe.
So here is the beginnings of my adventure to make a sourdough starter. Will it work? Stay tuned and we’ll find out!
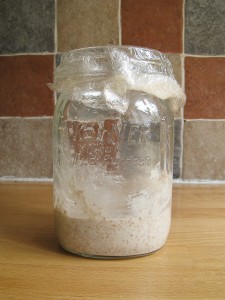
To start with I got an old glass Kilner jar and put in 75g of strong stoneground wholemeal flour. To this I added 100g of warm water and mixed it all together with a fork until I ended up with a thickish batter. I covered the top with cling film and put it in my office (which usually stays around 20 degrees). And that’s it! I now need to leave it a day and see if anything happens and give it it’s first feed.

Sourdough starter - day one.
If you are going to try this yourself, make sure that you use a jar/tub/whatever that is big enough to hold at least 4 times what you add at the start otherwise it’s going to get messy.
If everything goes to plan and I end up with a usable sourdough starter then I’ll put everything together into a “How to make your own sourdough starter” post.
no comments | tags: bread, bread making, make your own bread, Sourdough, Sourdough recipe, Sourdough starter | posted in Recipes


